In this article, I will explain how to install RTC plugin on an existing Eclipse environment to connect to the SmartCloud Application Collaborative Lifecycle Management Service.
The RTC plugin will allow you to manage your workitems and project source code from your development environment.
Of course, you can also install the full Rational Team Concert client, on the jazz.net website you will find the licensing options.
First you will have to provision the SCACLMS environment for that follow the steps described How to provision IBM SmartCloud Application Services.
Secondly, once the SCACLMS is provisioned, you will have to create a user, a project and associate the user to the project.
Finally, you have to have an Eclipse environment installed. I will make the example with Eclipse 3.7.2 which is the requirement for RTC 4.0 plugin.
Now, we can start the RTC Plugin installation.
There is multiple ways to install the RTC plugin on an Eclipse Environment, either using the P2 installation or the RTC Installation wizard. I found the first one much more easy.
Plugin Installation (1)
1) Go in the jazz.net at Rational Team Concert web site(You will need to create a login).
2) Select the version you would like to install.
3) Click on “More Download Options”
4) Search for “p2”
5) Download the file (ie: “RTC-Client-p2Repo-4.0.5.zip”)
6) Install the file like any other p2 plugin (Eclipse -> Help -> Install new Software -> Add…..)
Plugin Installation (2)
1) You have to download the RTC installation file from jazz.net at Rational Team Concert (You will need to create a login).
2) Select Rational Team Concert version 4.0 not the 4.0.1 because this is not compatible with SCAS 1.0. SCAS 1.1 should be compatible with 4.0.2 but didn’t try it yet.
3) You can see the different license and how it apply to “Client access licensing options”.
4) Download the zip file in your preferred directory.
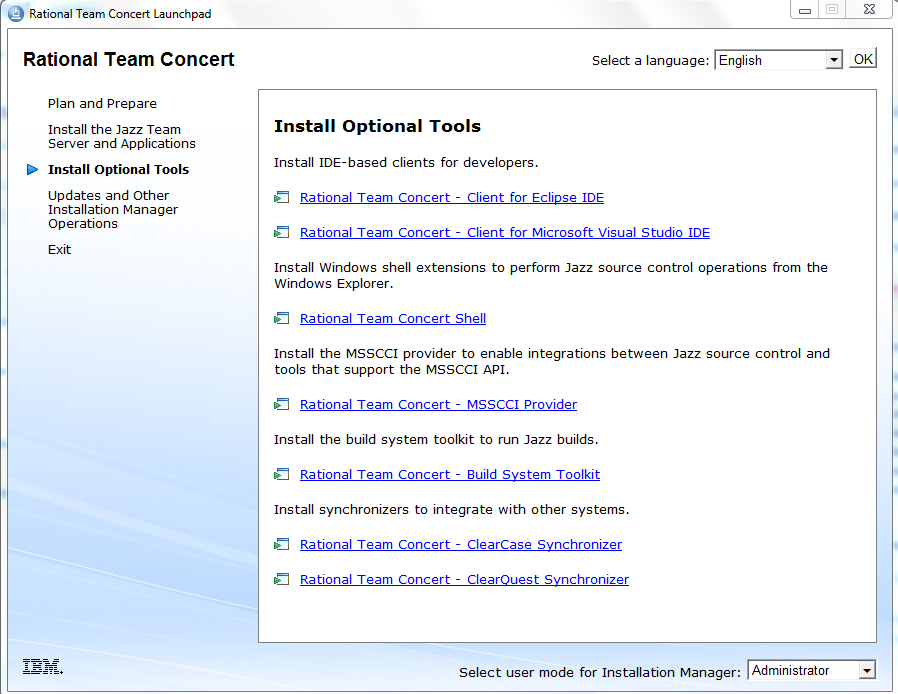
5) Unzip the zip file and launch the ‘launchpad.exe’
6) Select ‘Install Option Tools’ or ‘Install Client’ depending on the launchpad version.
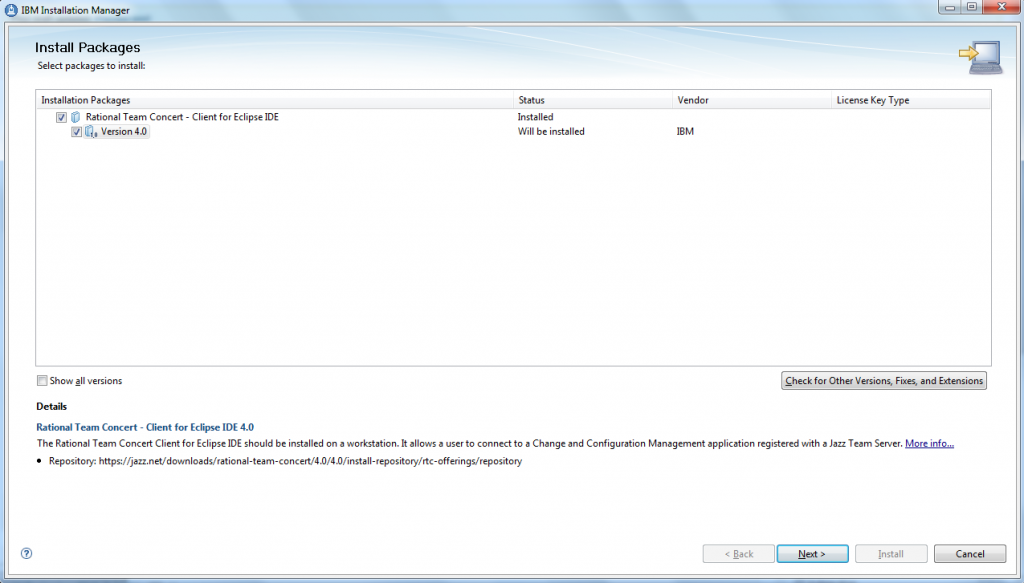
7) Click on the ‘Rational Team Concert – Client for Eclipse IDE’. The ‘IBM Installation Manager’ opens. Of course, it can be slightly different depending on the products already installed.
8) Select the version you would like to install and click ‘Next’.
9) If you agree with the T&C, accept them and click ‘Next’.
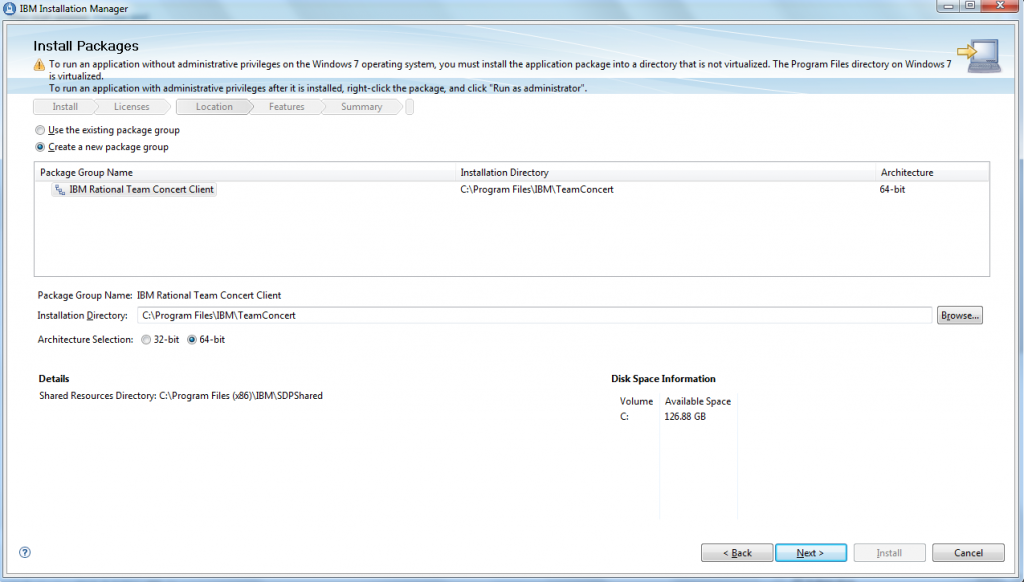 10) Check ‘Create a new package group’ and click ‘Next’.
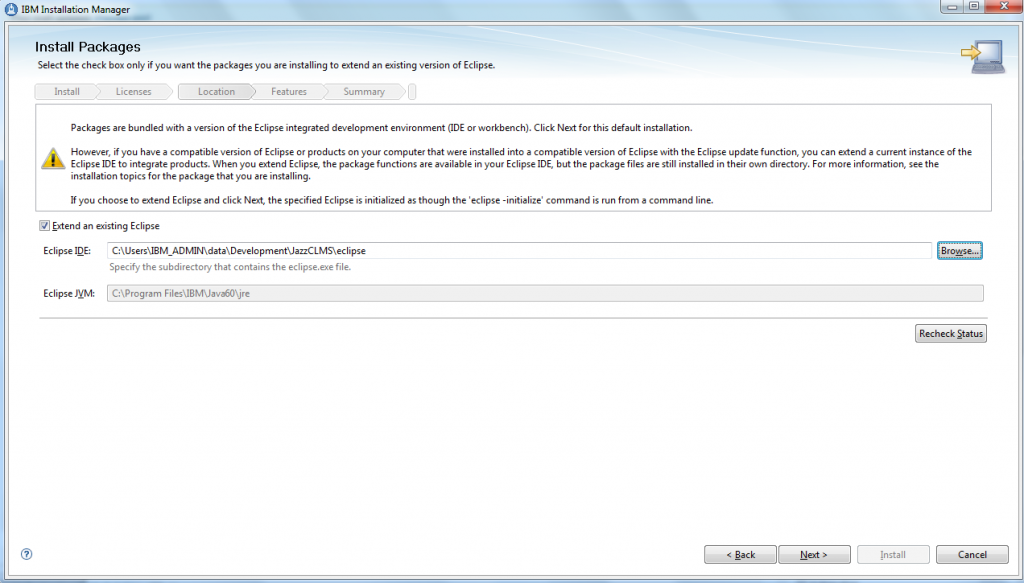
11) Check the ‘Extend an existing Eclipse’ and browse to you eclipse home directory and then click ‘Next’.
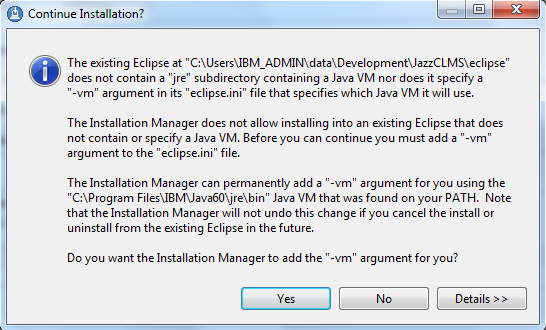
12) The eclipse.ini file have to be modified to add the ‘-vm’ argument. Click ‘Yes’.
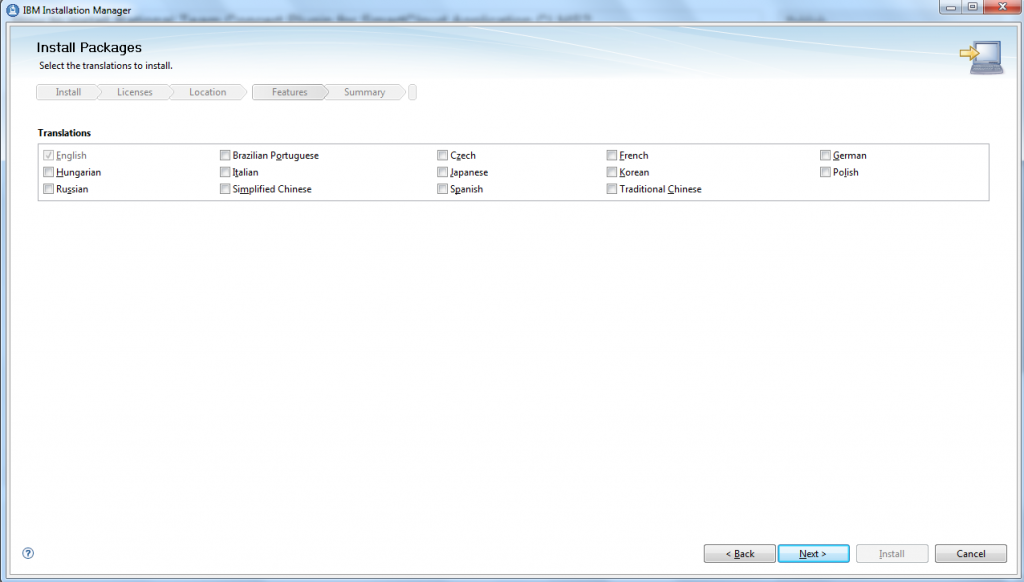
13) Select your languages and click ‘Next’.
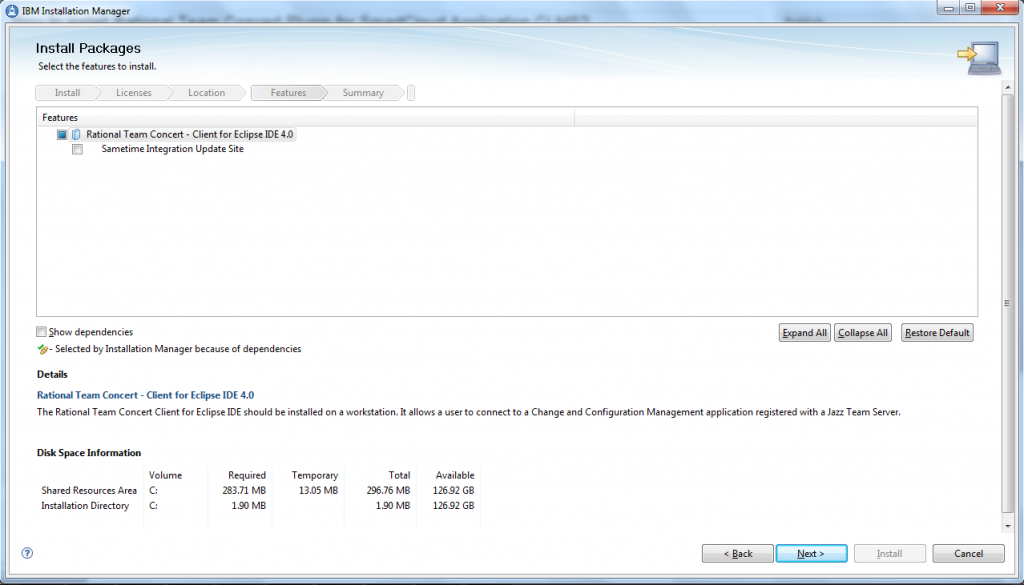
14) On the ‘Select features’ screen, click ‘Next’.
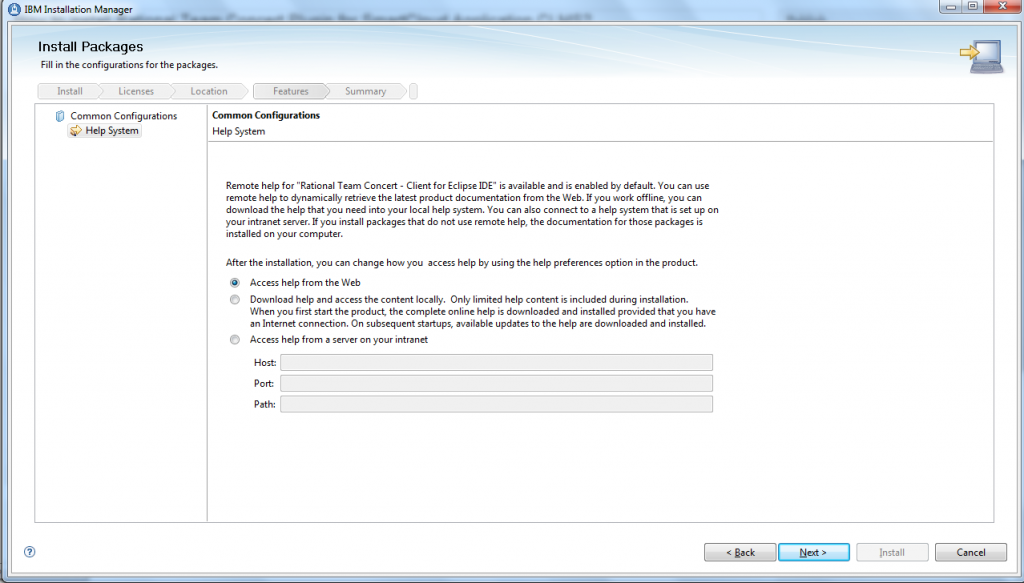 15) Select from where you would like to access the Help and click ‘Next’.
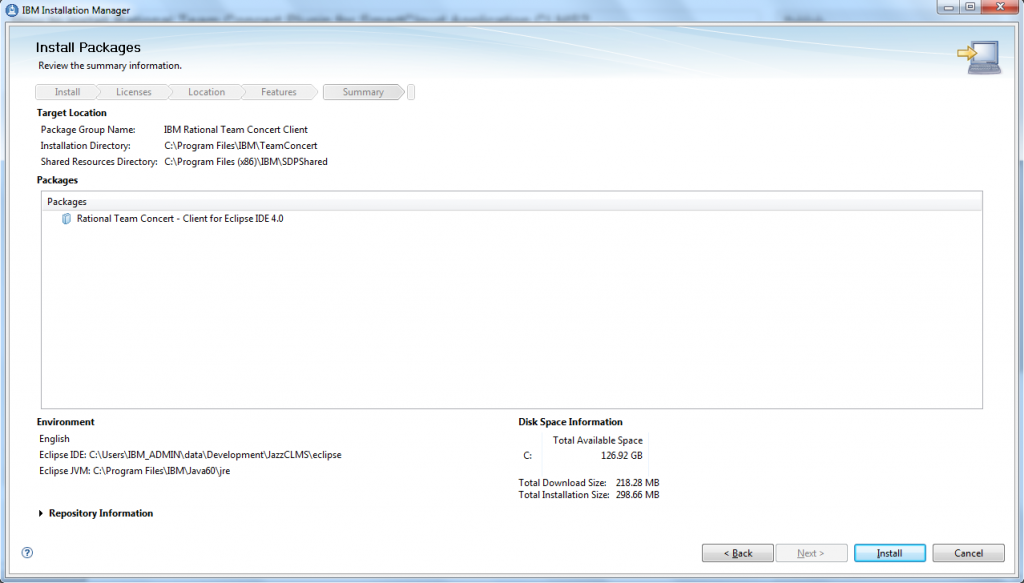
16) Click ‘Install’
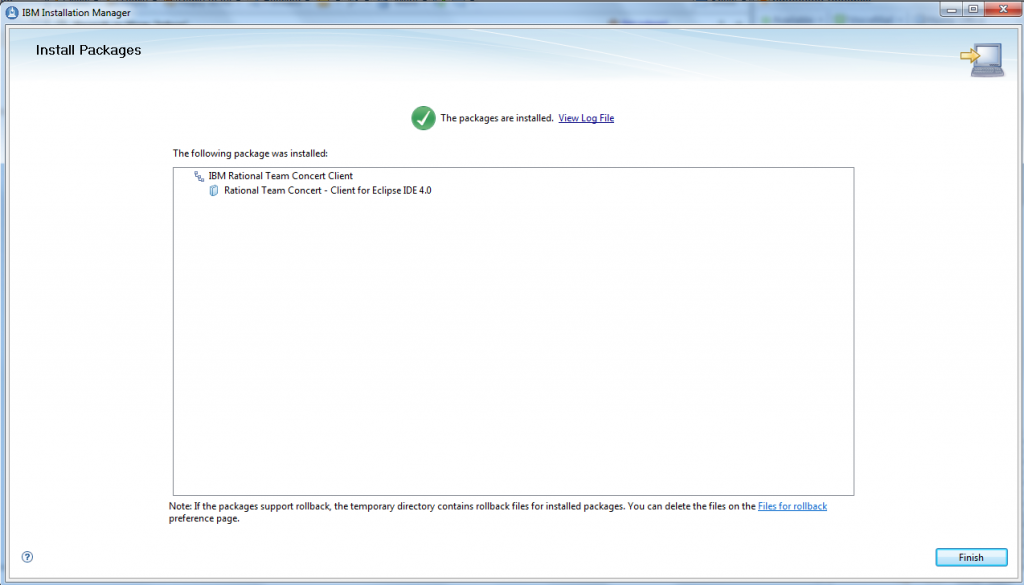
17) Click ‘Finish’.
Plugin Setup
1) Open your Eclipse environment and select the ‘Jazz Administration’ perpective and from the workitems view:
2) Click on ‘Connect to Project Area’
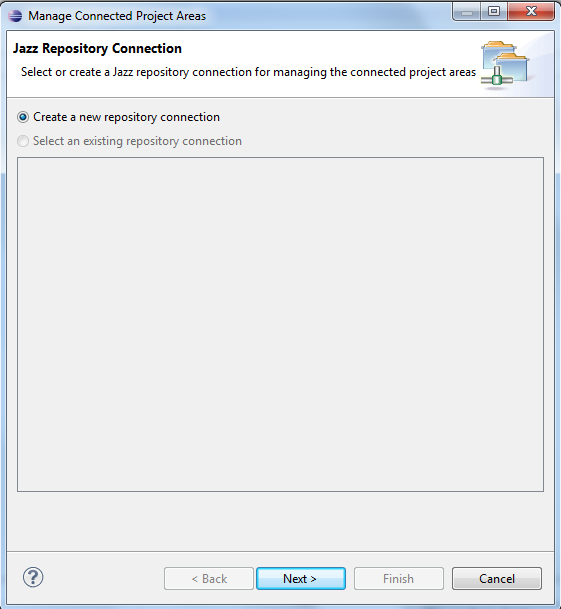
3) Select ‘Create new repository connection’ and click ‘Next’.
4) Enter the url in the form of https://:9443/ccm/, the user and its password. Click ‘Next’.
5) If requested, accept permanently all certificates.
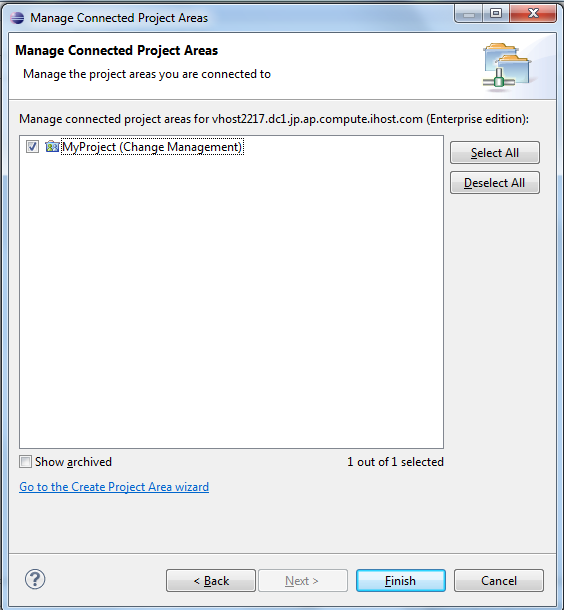
6) Select the project and click ‘Finish’.
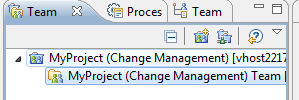
You can see now you have access to your CLMS platform via your eclipse installation.
Amongs other features such as managing workitems, You will also be able to share the source code of your project using the jazz repository, just right click on the project, select ‘Team’ -> ‘Share project’ and select ‘Jazz Source Control’.

